Step-by-step guide
Master Pushed in
14 simple steps.
Learn to create and organize professional email designs in Figma for seamless Klaviyo export using the Pushed plugin.


Initialize your Figma file
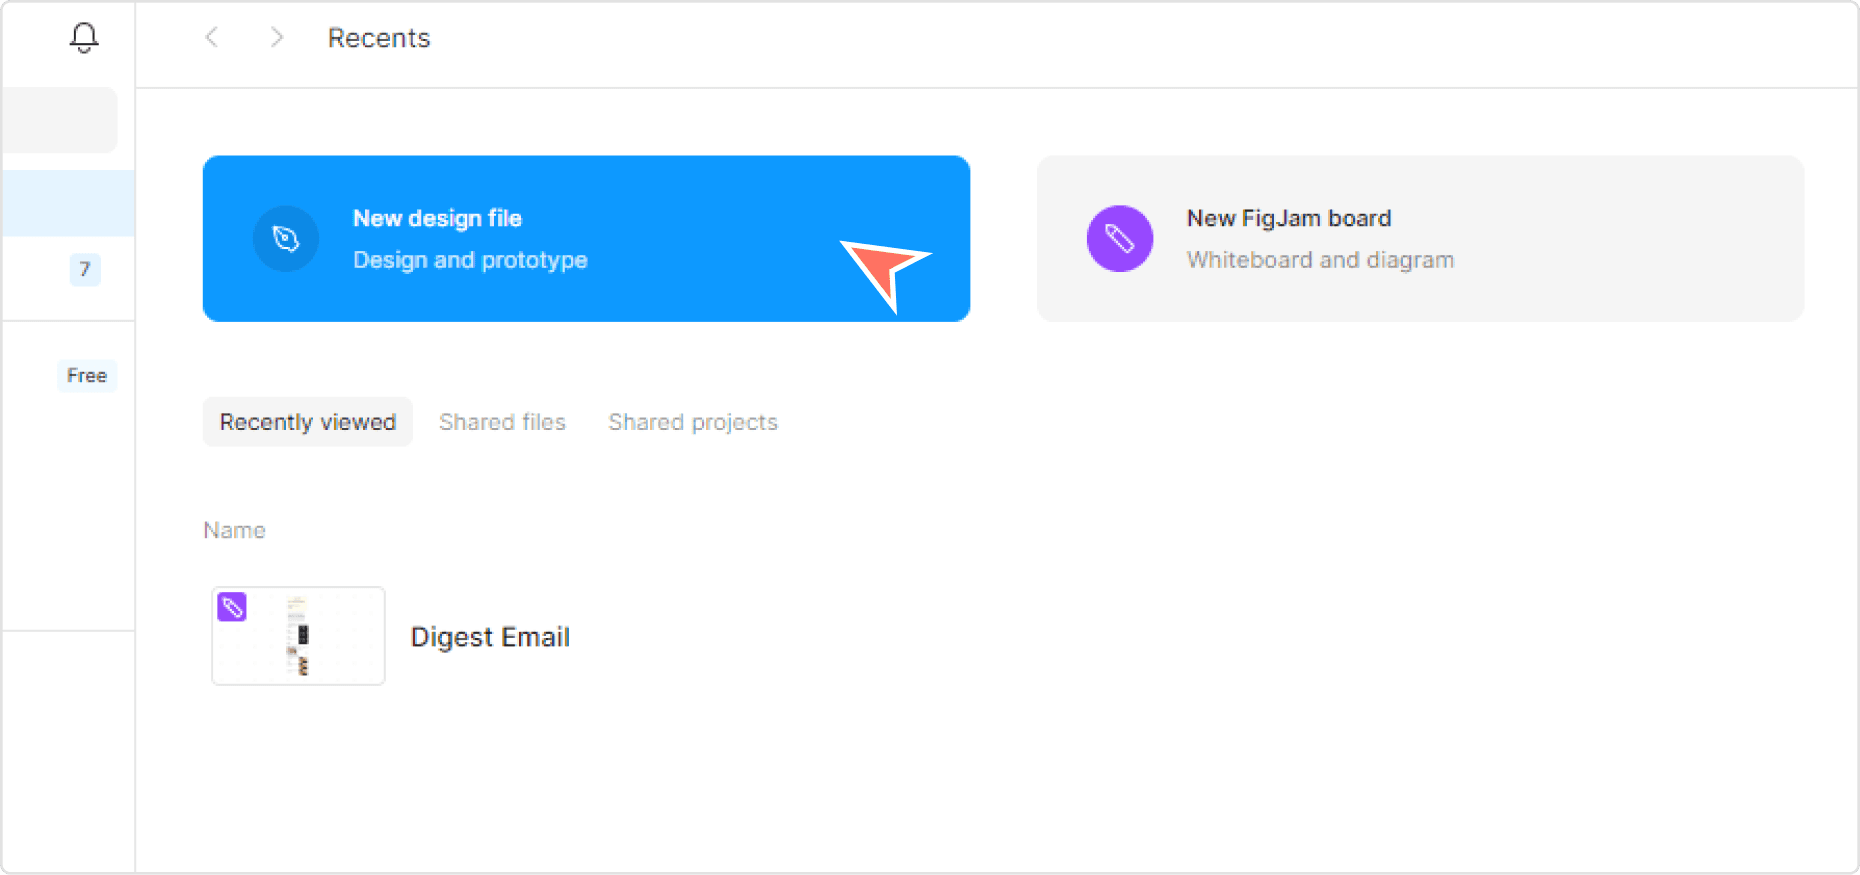
Start by launching Figma and create a new file
Click the “New design file” button in the upper-left of your workspace.
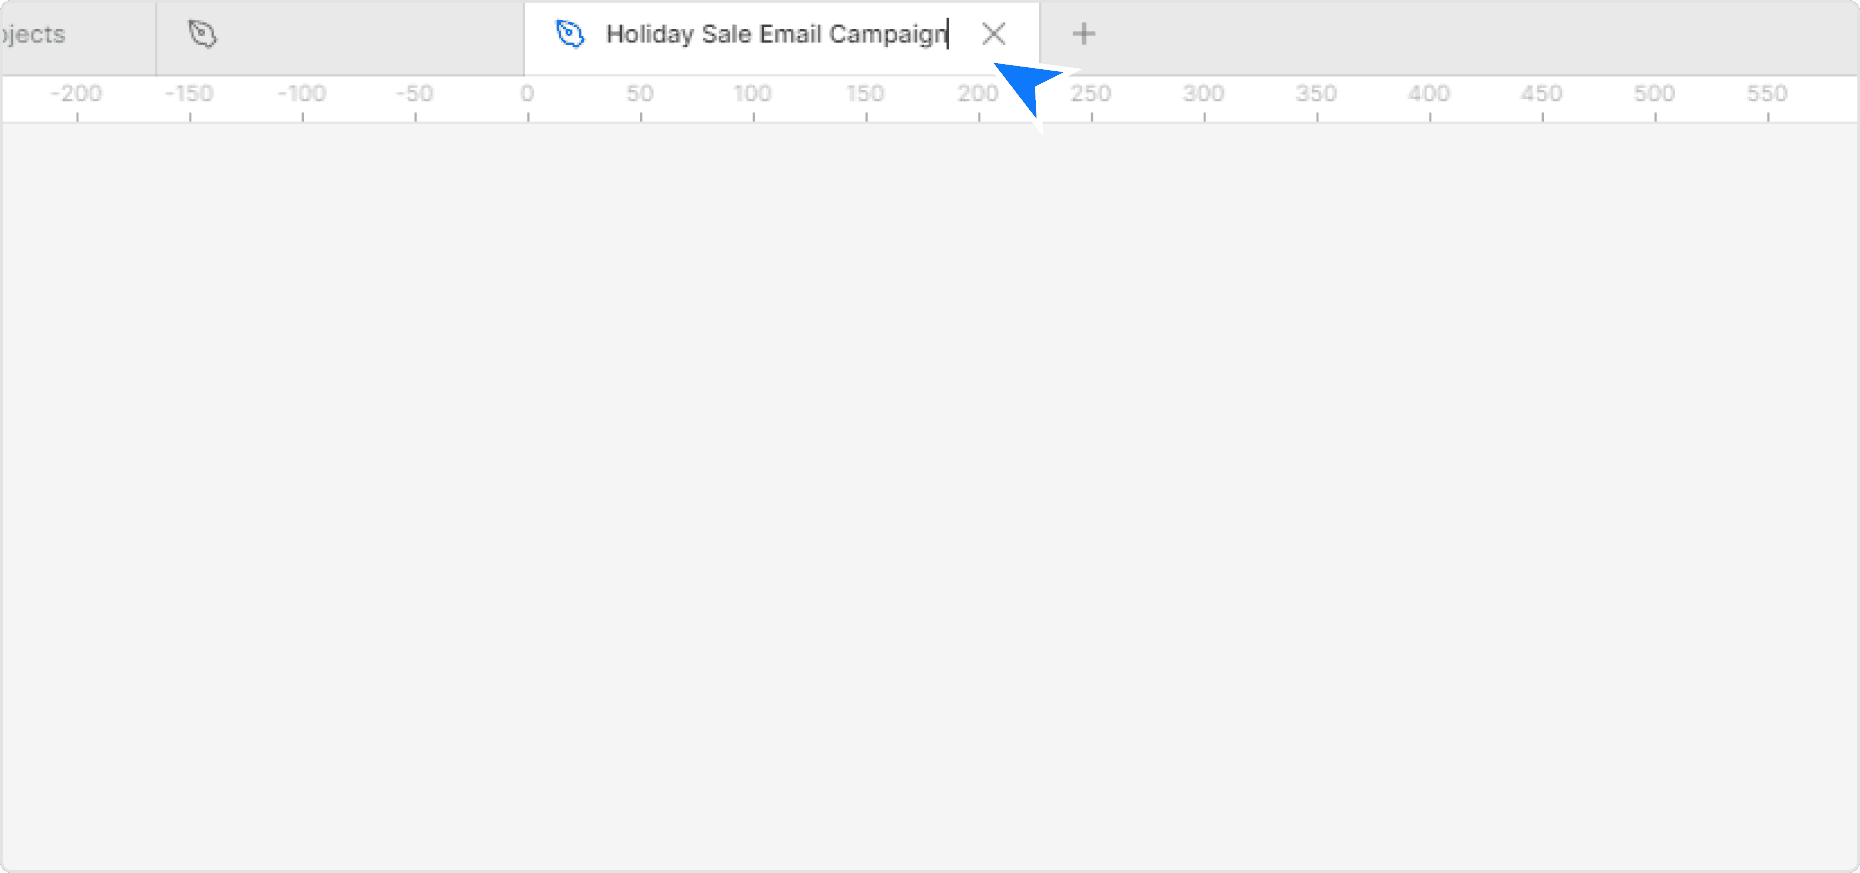
Name your file appropriately, such as “Holiday Sale Email Campaign”
Double click on the file name to rename it from “untitled.”
Set up your email canvas
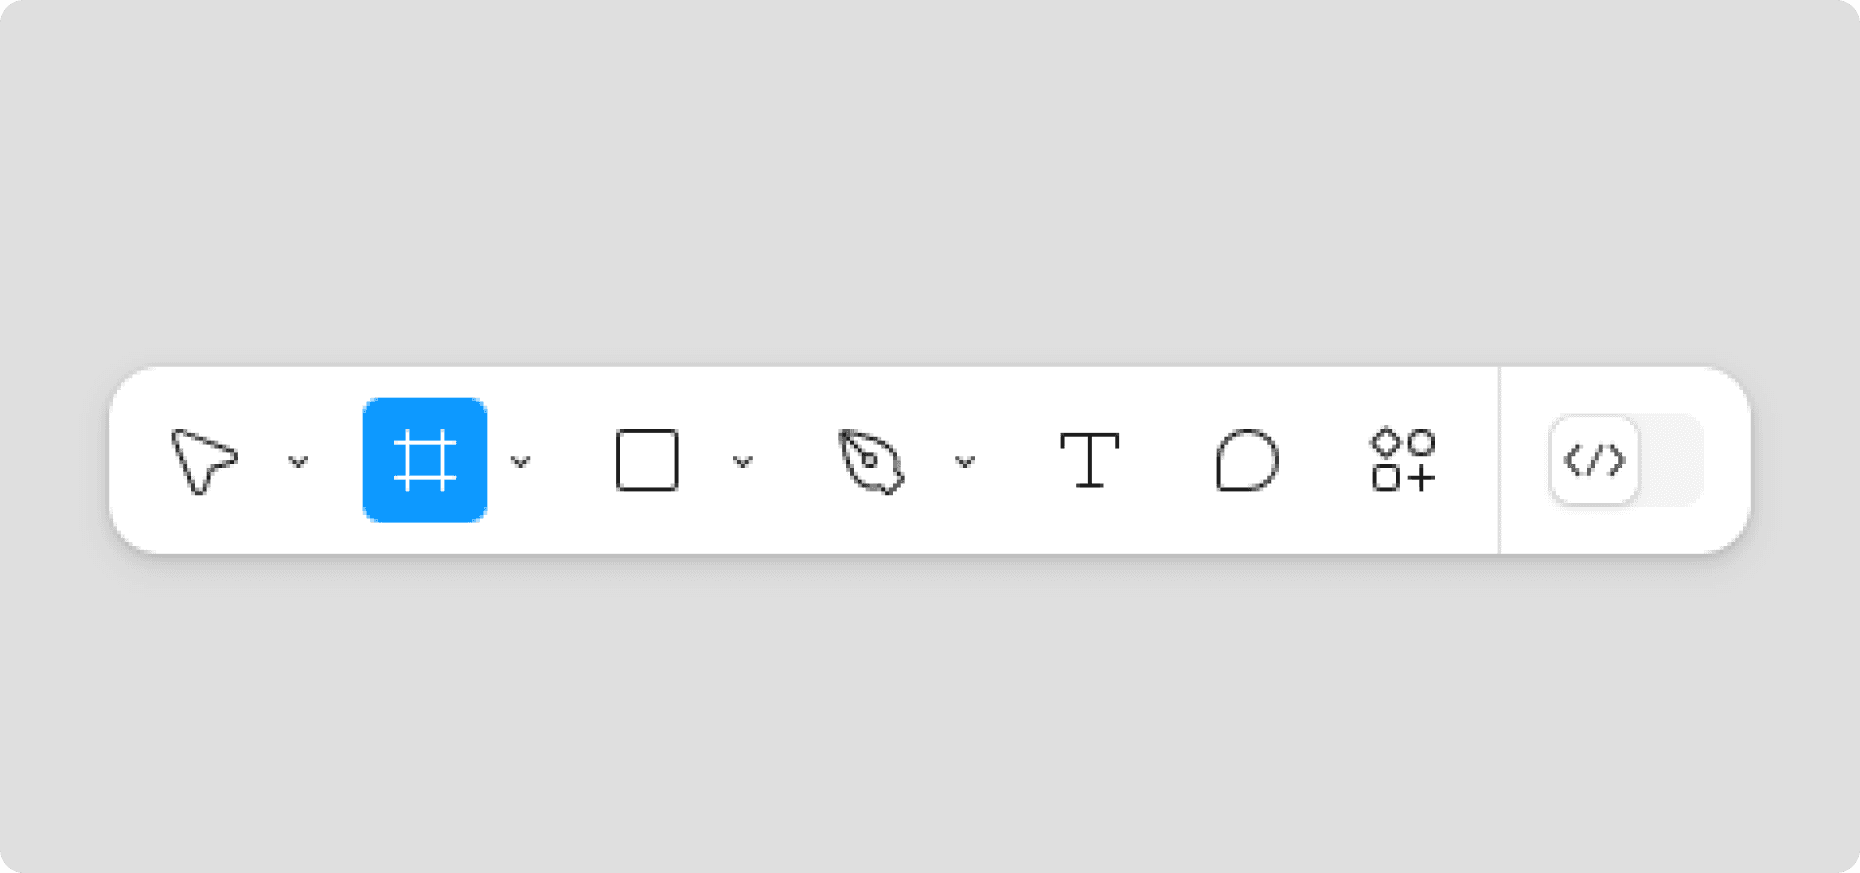
Select the frame tool at the bottom of your Figma app
Click and drag to create a frame. Set width to 600px (not mandatory at this stage). Choose the height as per your convenience. Name it appropriately “email_campaign.”

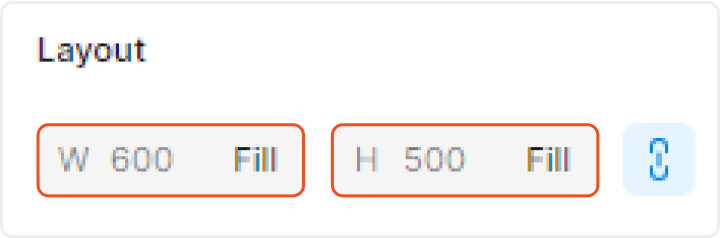
Configure your canvas with auto layout
Once you add auto layout, make sure to set the auto layout settings as such:
- Width hug or fixed to 600px
- Height must be hug
- Flex direction — vertical
- Align — center-top
- Spacing — 0px
- Padding horizontal — 0px
- Padding vertical — 0px
Create your first frame component
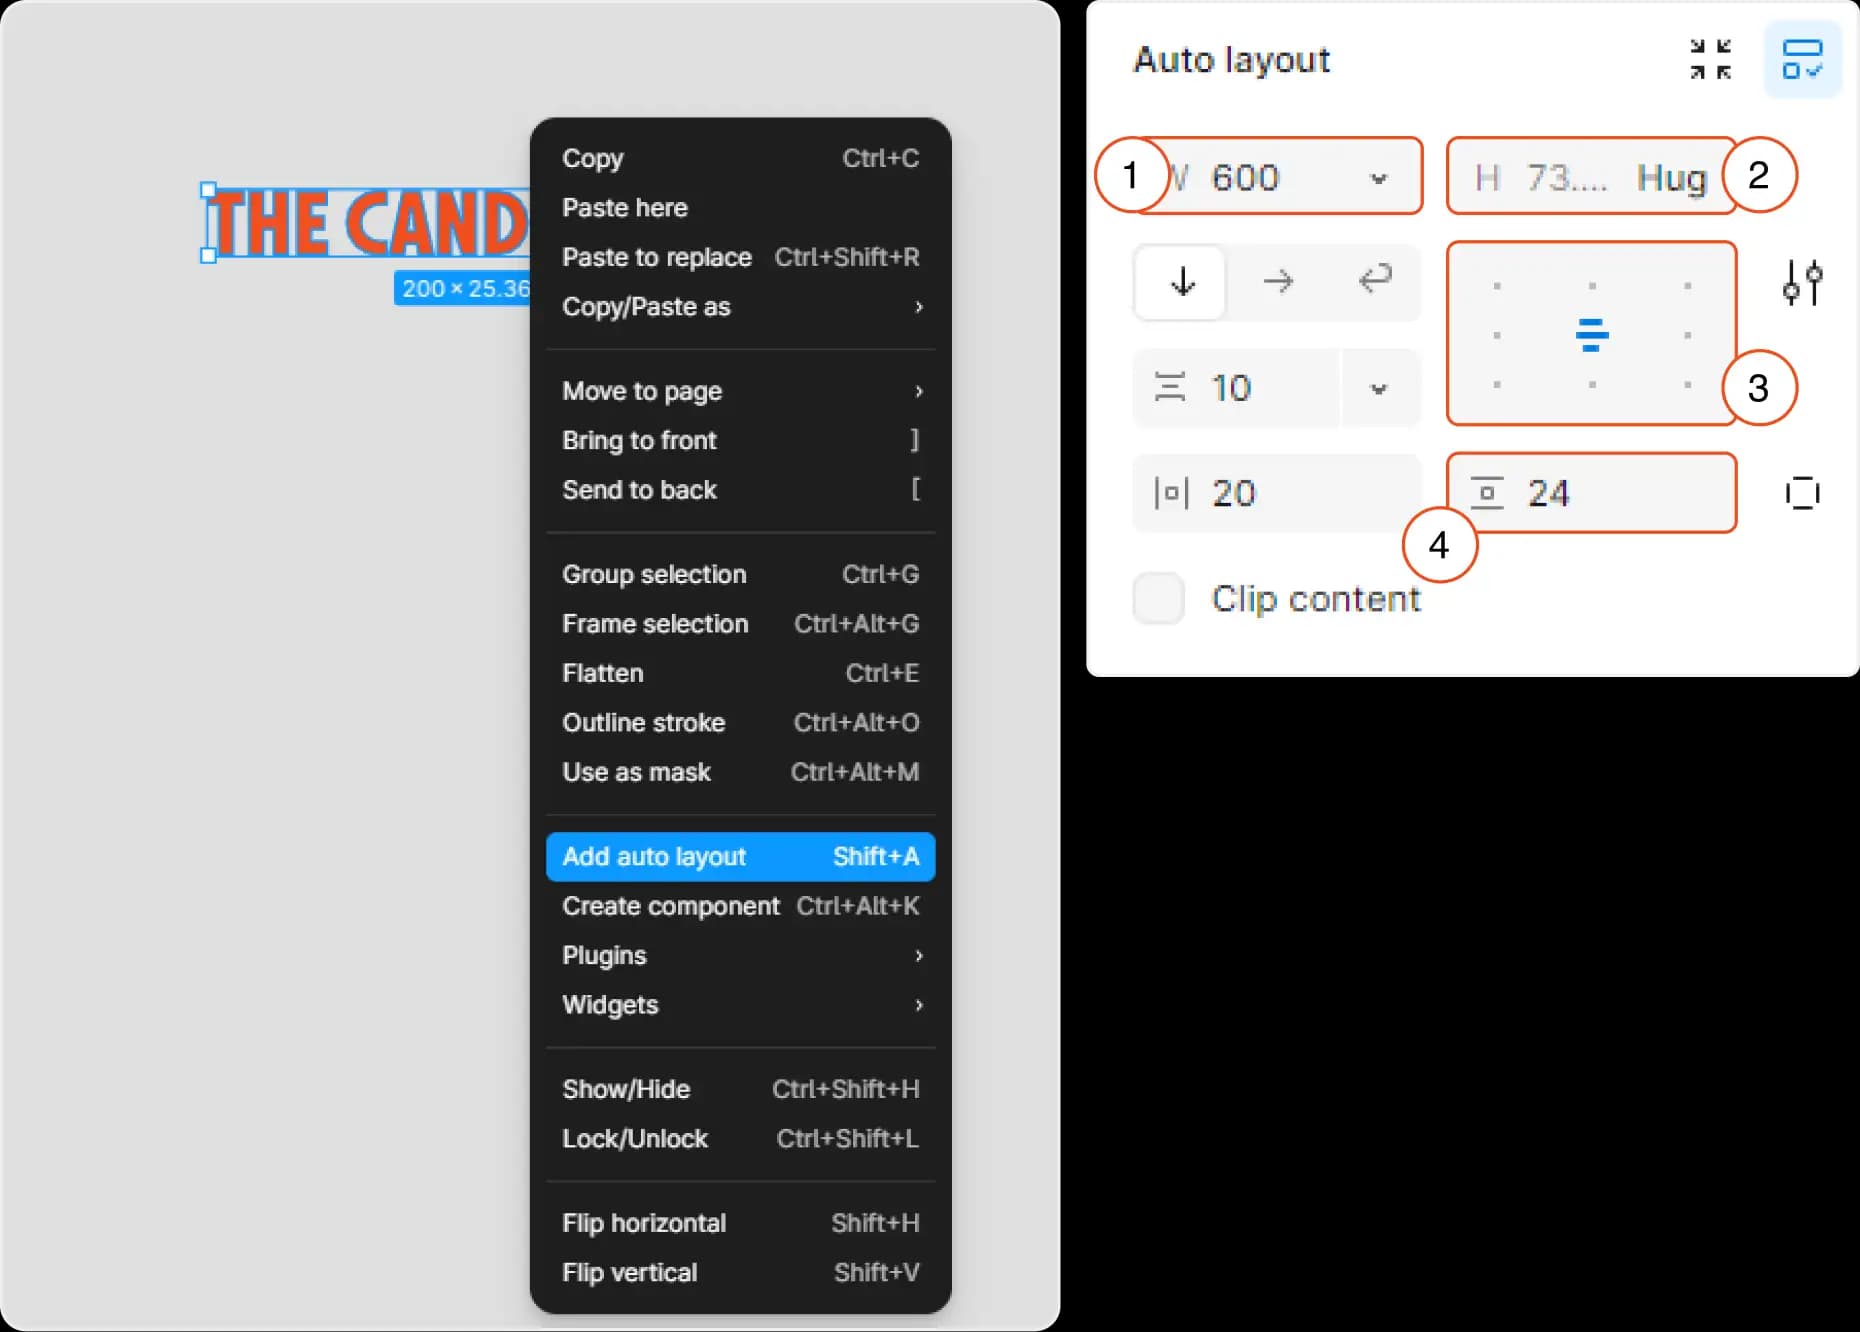
Upload your logo to Figma and name the header component clearly
After uploading your logo, resize it and right-click to add Auto Layout. Once you add auto layout, make sure to set the settings as such:
- The logo element can be any width, but preferably 600px
- Height — hug
- Align — center
- Padding vertical — appropriate size (e.g. 24px)

Your header component should look like this
Create image components
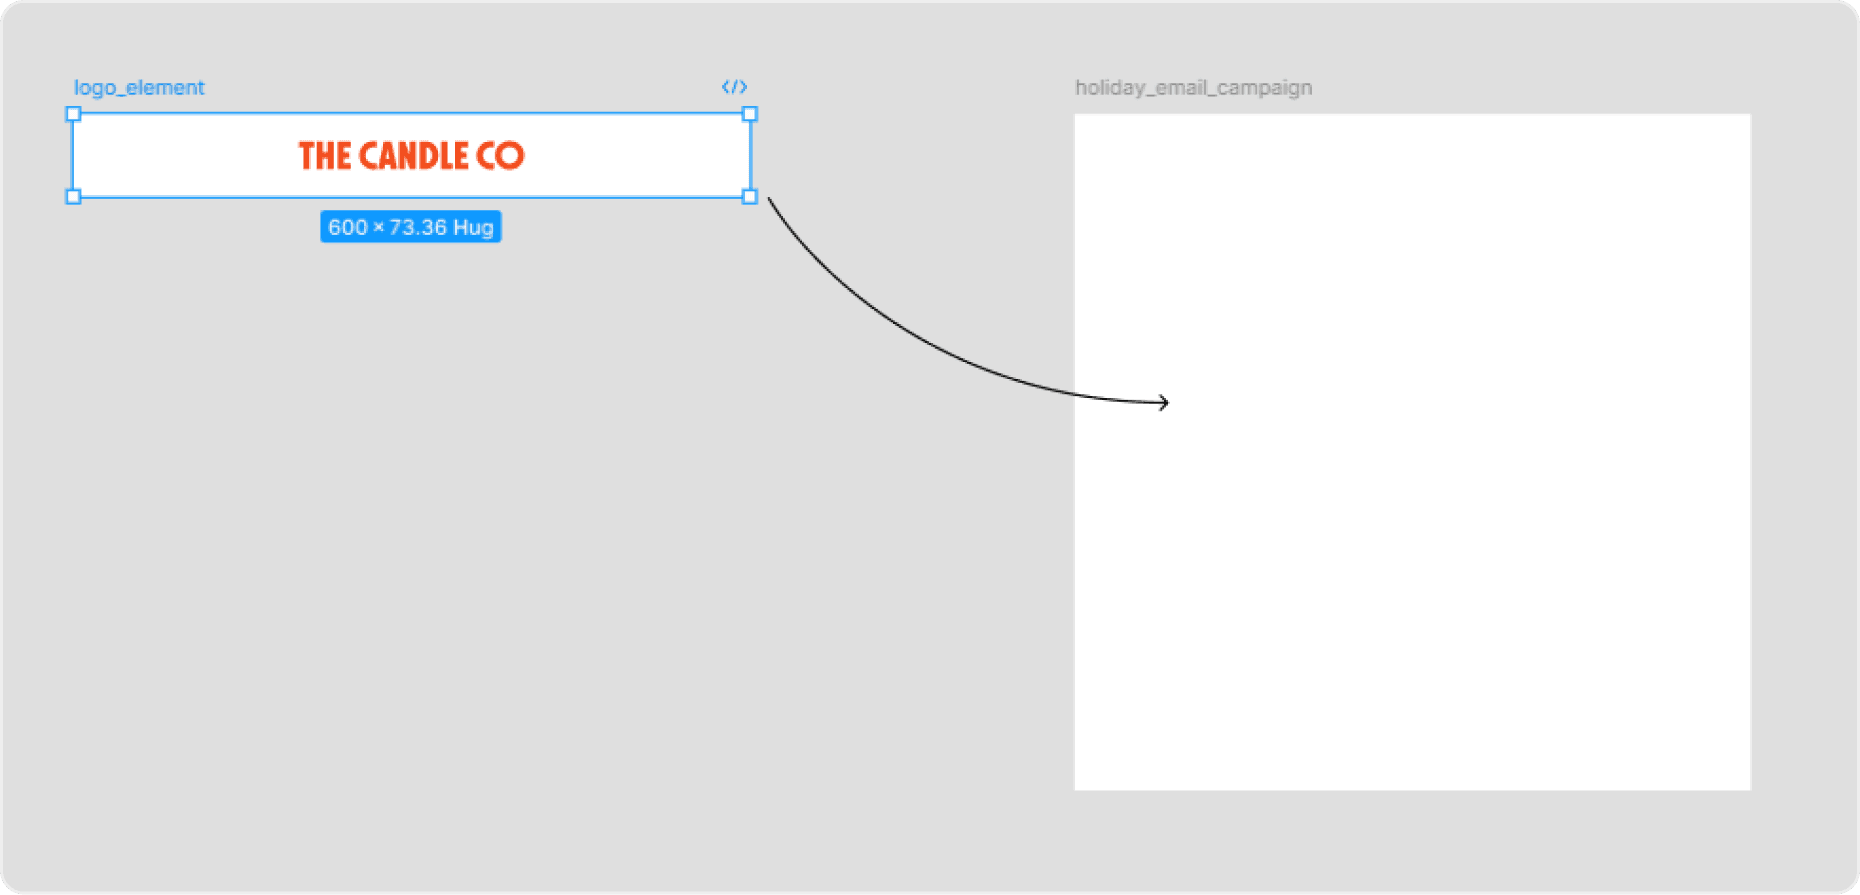
Drop your header frame into the email canvas
After completing your header component, select the header frame and drag it into the email canvas.
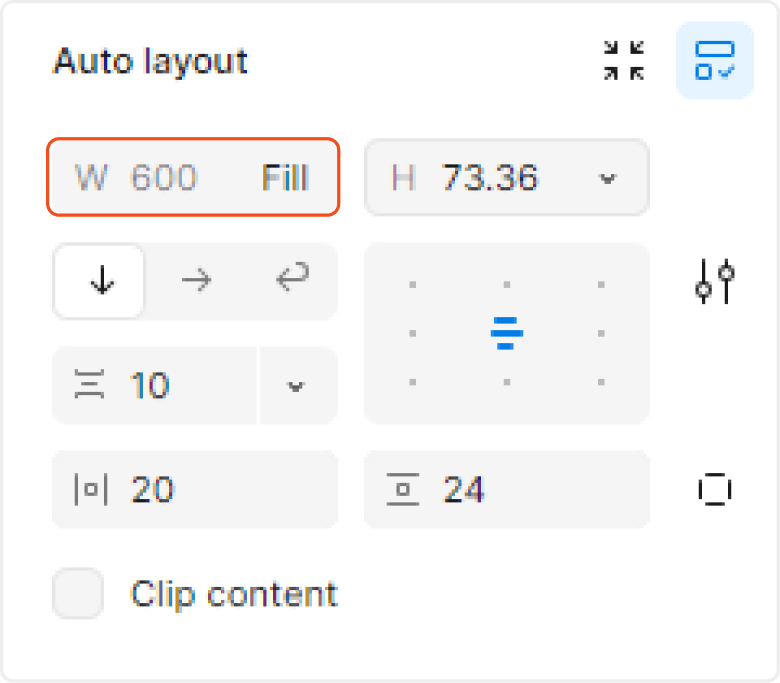
Once you drop in the header component, select it and change the width to fill. This makes the element dynamic for smaller screens.
Add header components
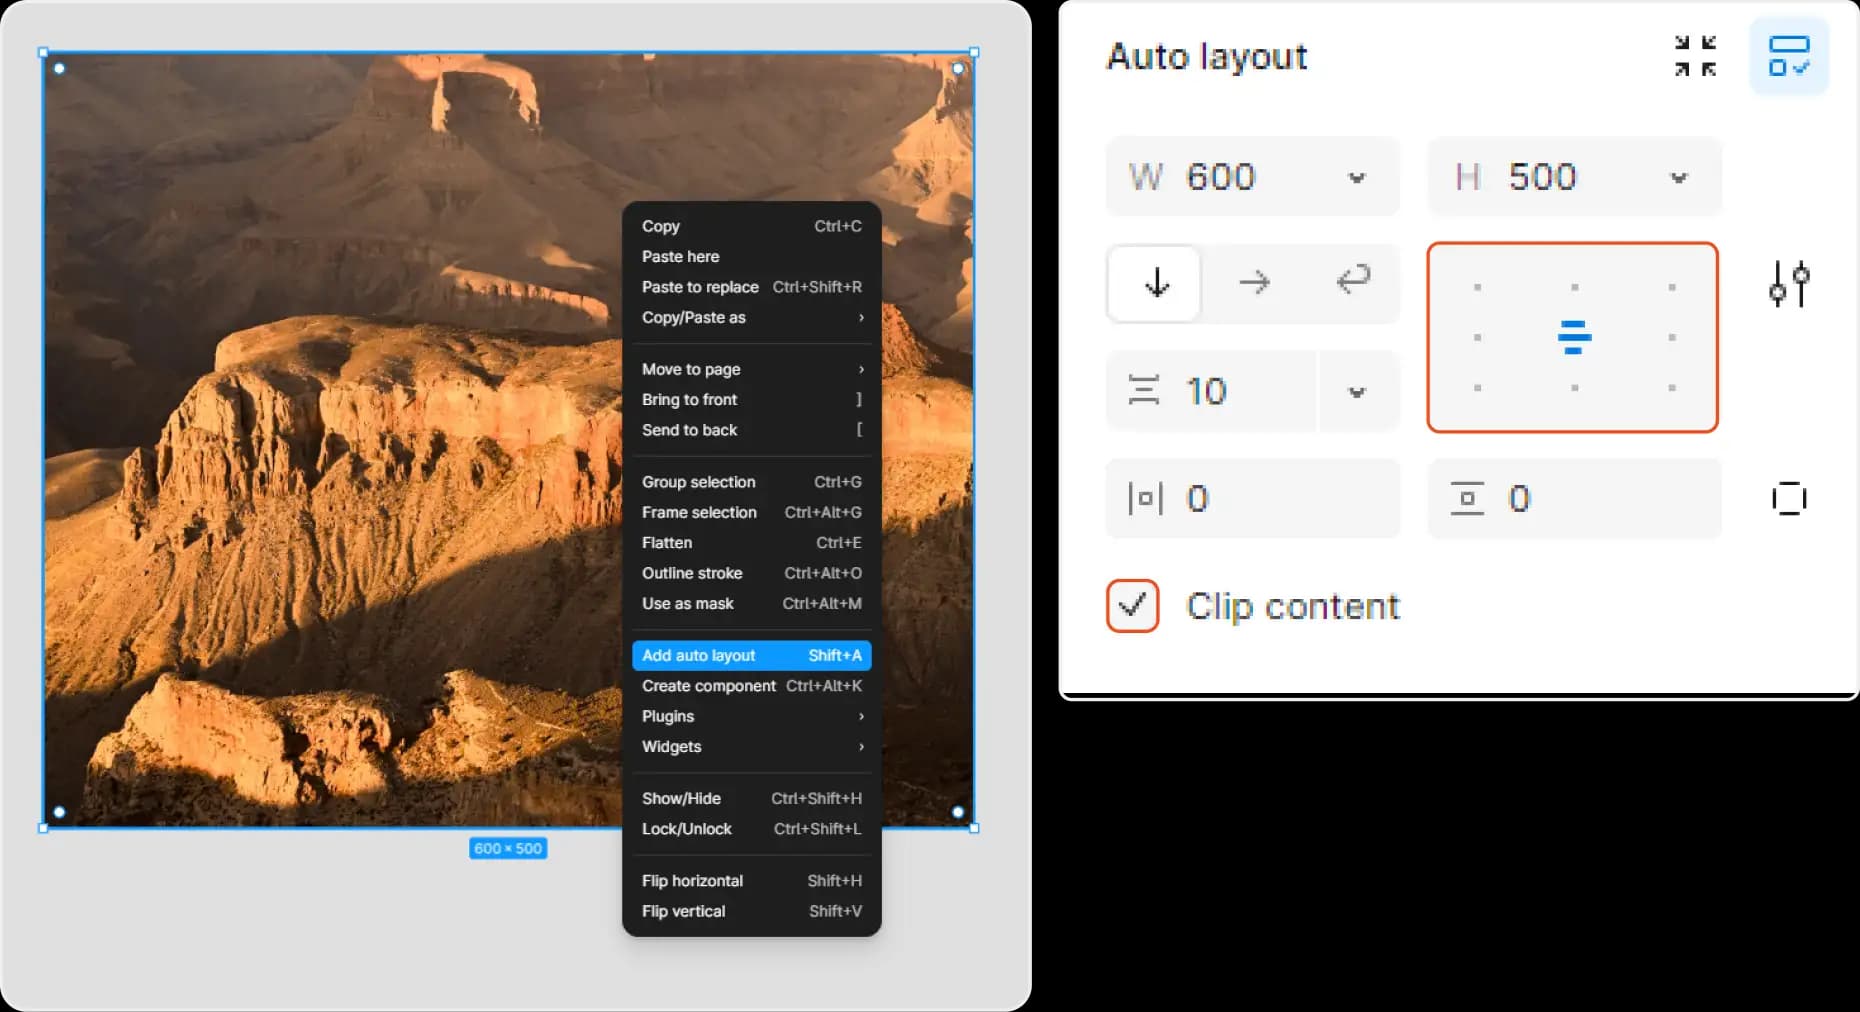
Drop an image inside your file, create an auto layout, and name it appropriately
Your auto layout must have the content clipped and align settings centered.
Select the image inside the layout and set the layout settings.

Once done, drop the image component inside your email canvas.
Create text block components
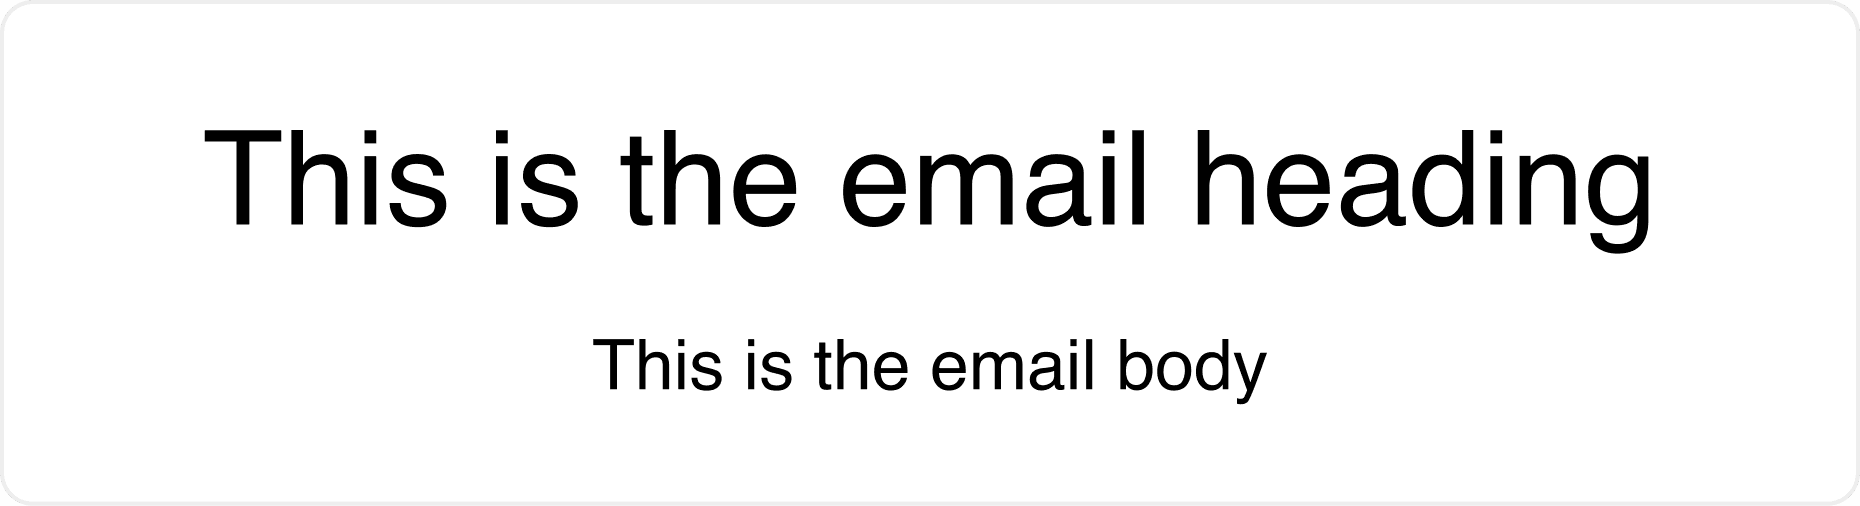
Apply Auto Layout, set padding, gap, and alignment for text blocks
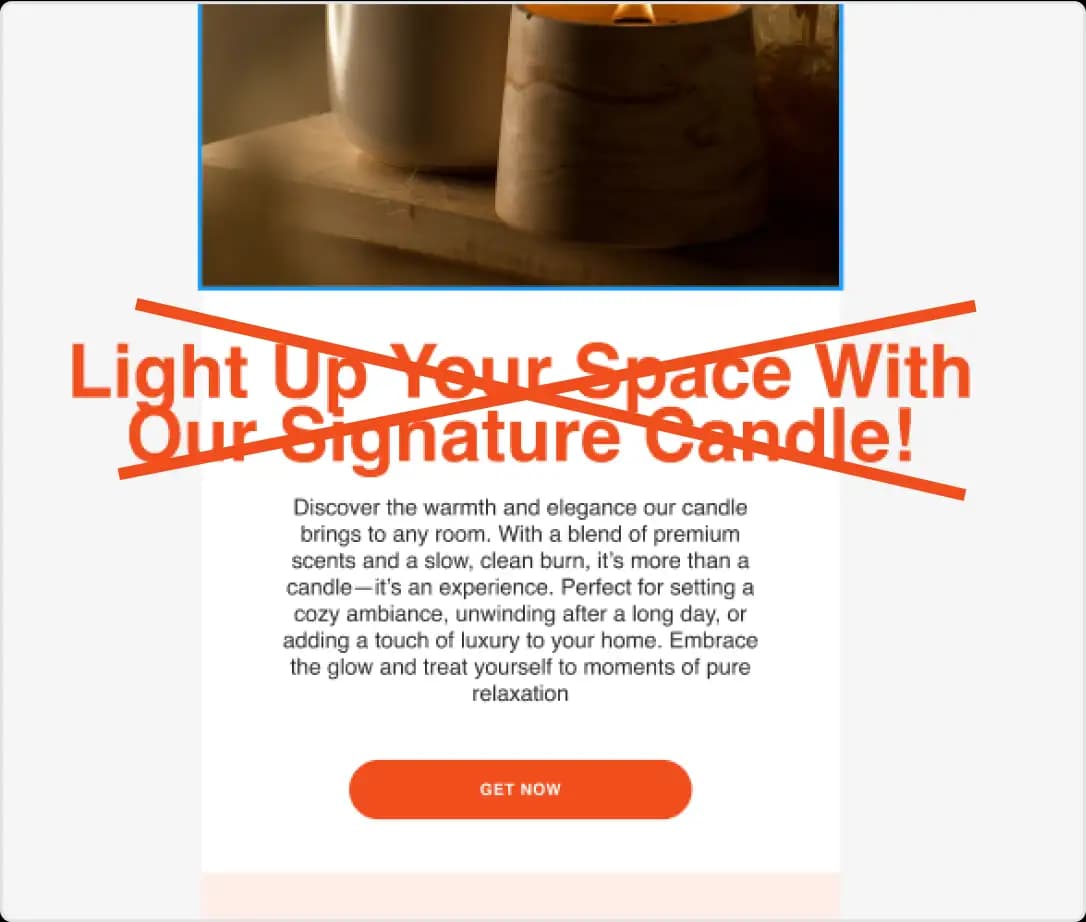
Text blocks should have appropriate sizes. Keep heading size from getting too big — that avoids overflowing on mobile devices.
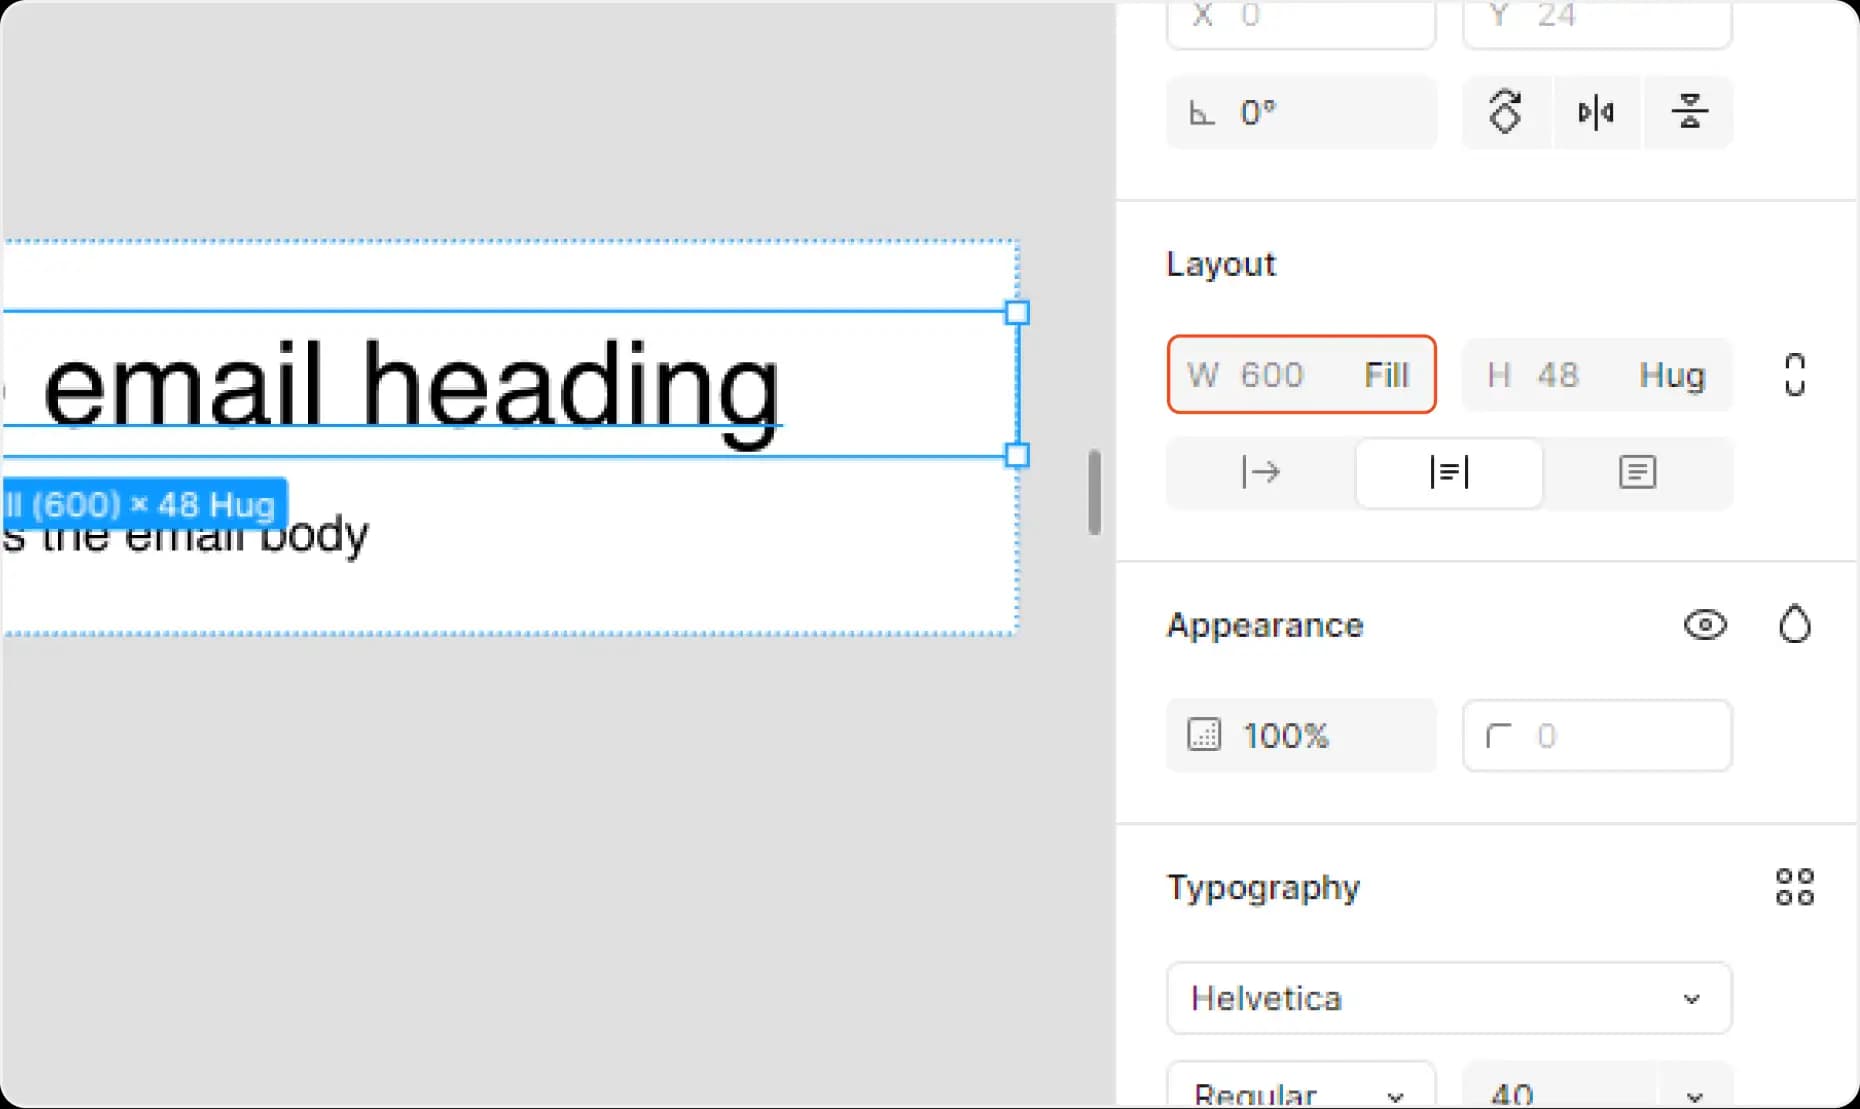
Select text block(s) inside your layout and set width to fill
Once done, you can drop them inside your canvas.
Create horizontally spaced column layouts
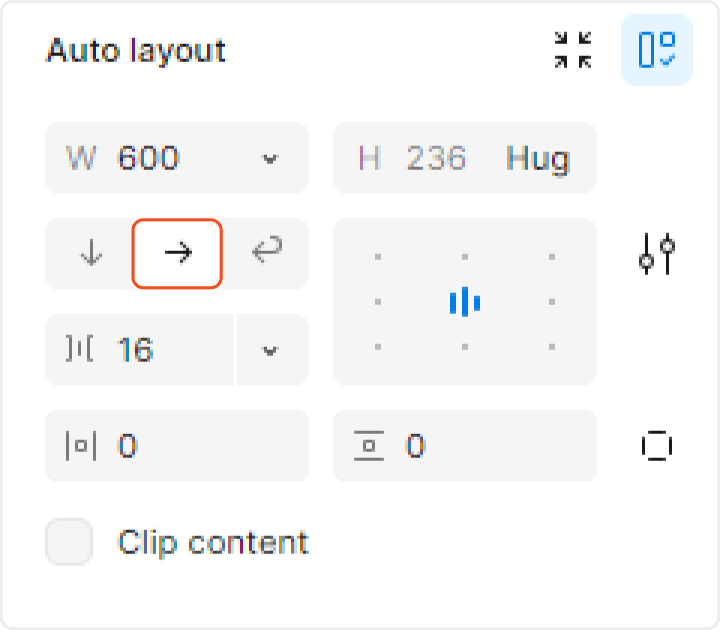
Flex direction horizontal will create a layout with horizontally spaced columns

The horizontal components should have width of fill.
Create buttons

Same as creating layouts — but you can spice it up with background colors and corner radii
Configure the footer
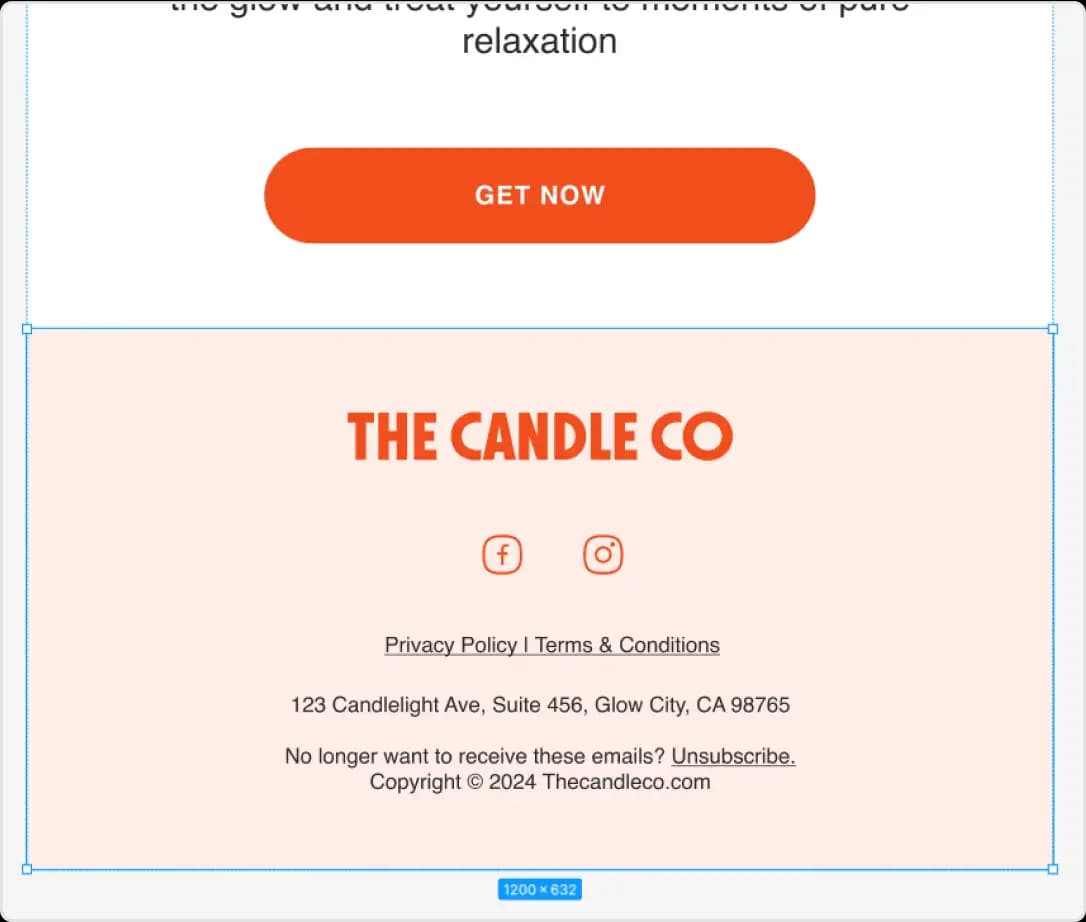
Create a footer frame and drop it at the end of your body on the email canvas
Include footer details:
- Add contact information, legal disclaimers, and social media icons.
- Keep the design simple and legible.
Make sure your layers are properly ordered
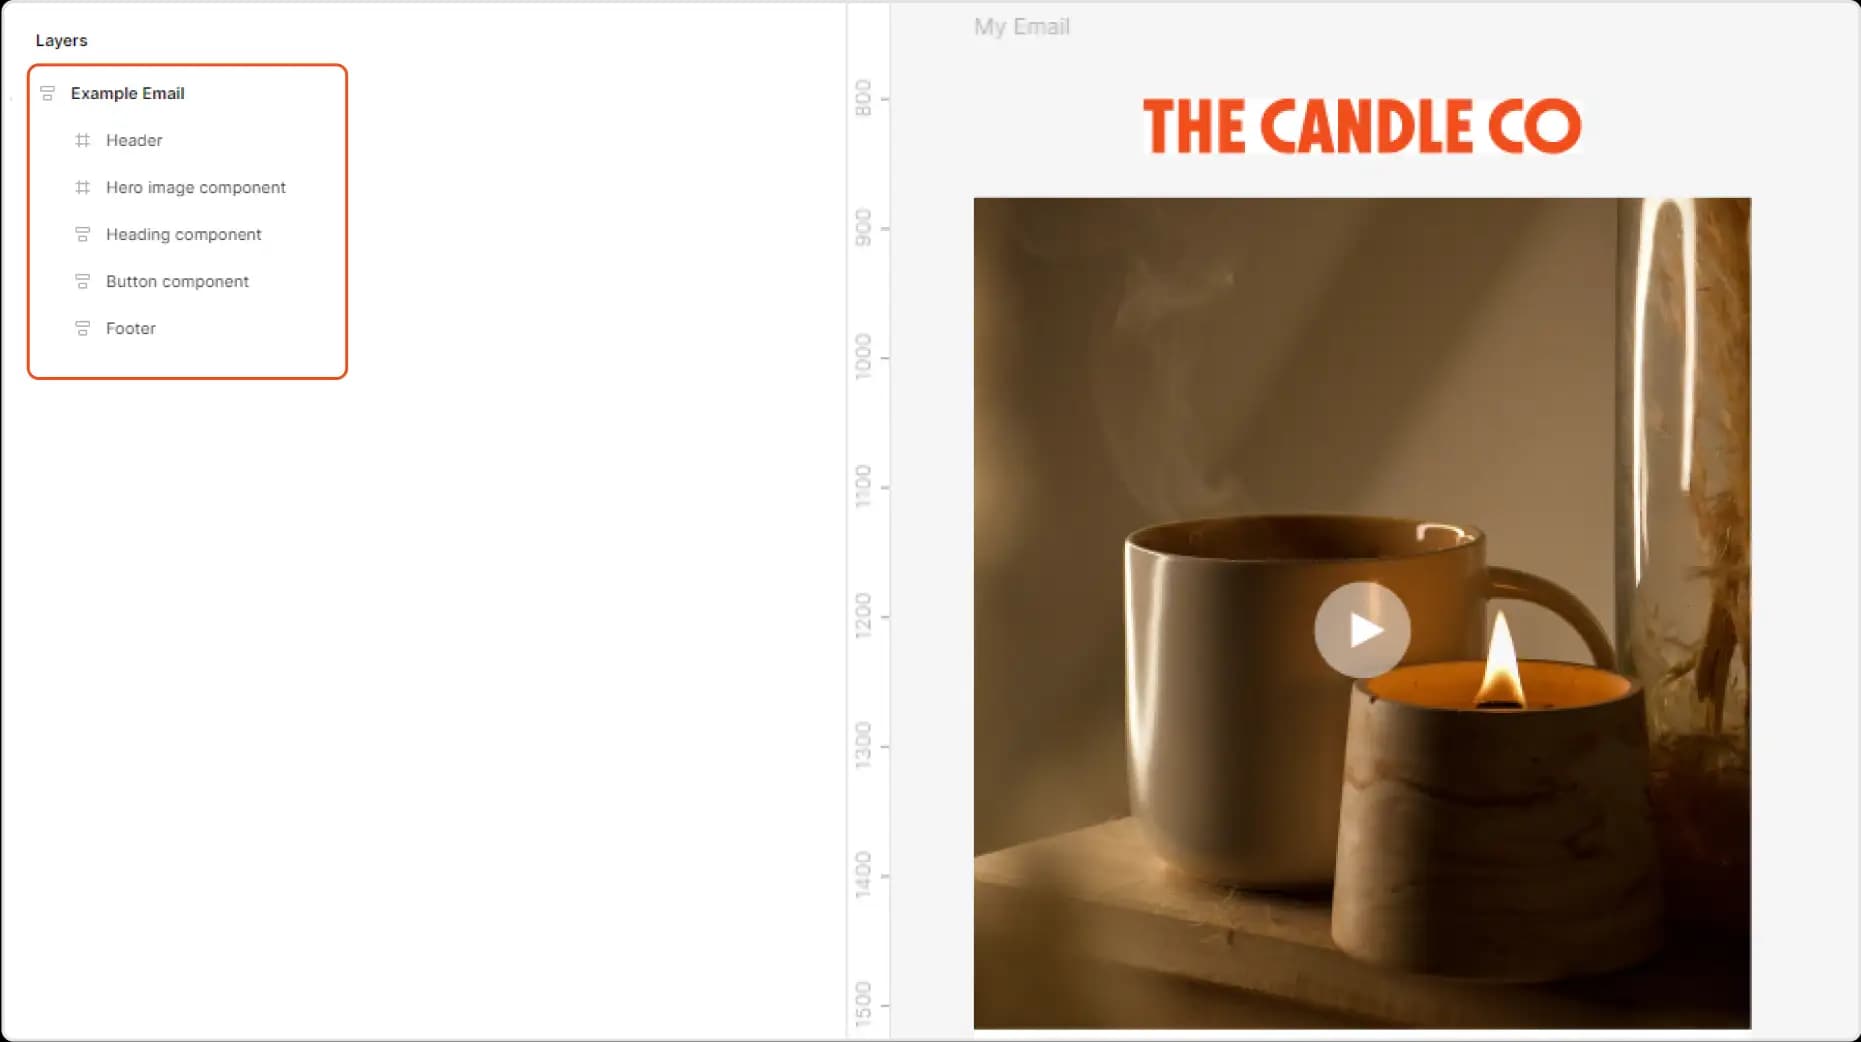
Check the layer panels on the left and make sure all layers are properly named
Optimization for export
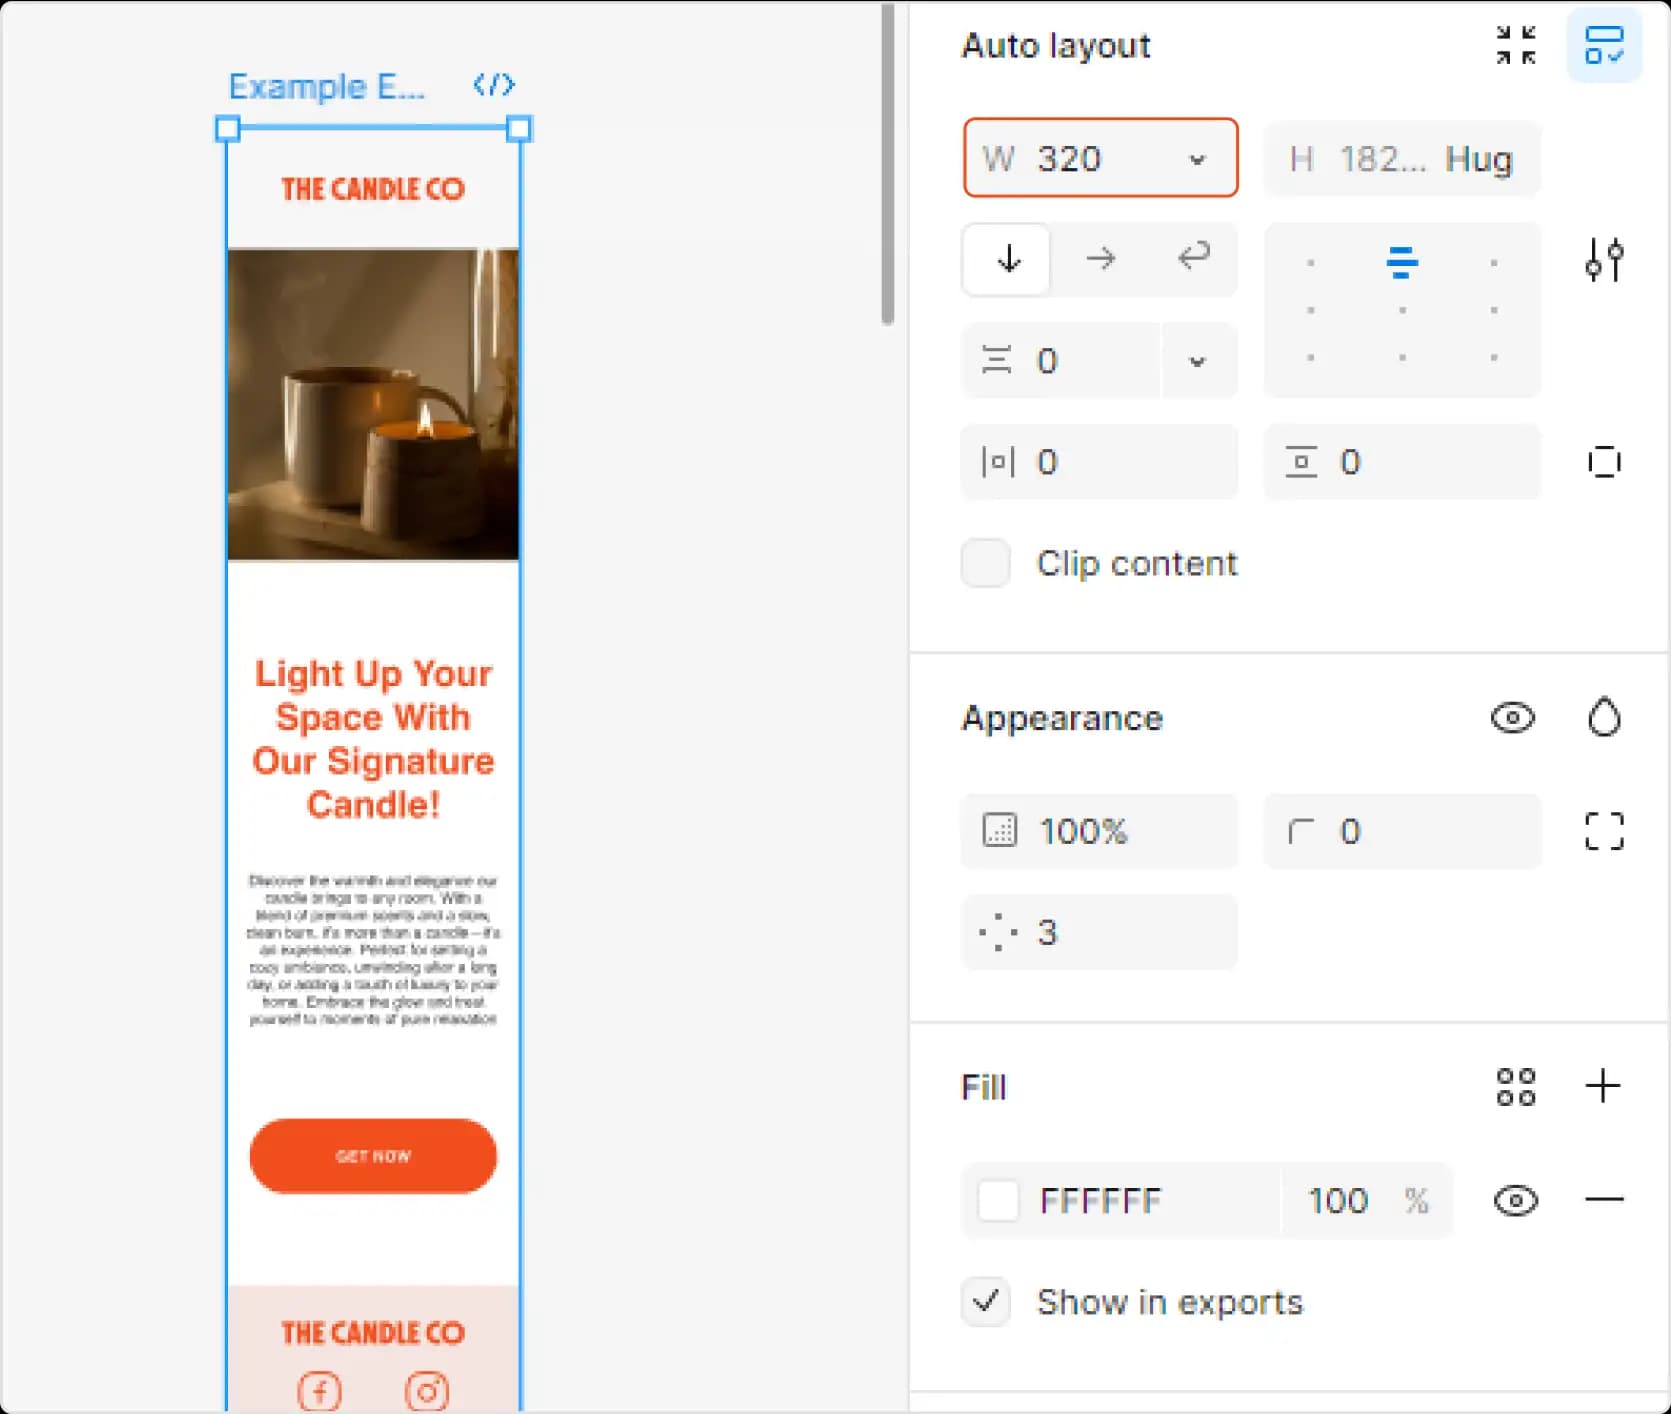
Preview for mobile — temporarily resize the canvas to 320px wide to ensure responsiveness
Check for overflows — ensure no text or elements overflow their frames
Use the plugin to export to Klaviyo
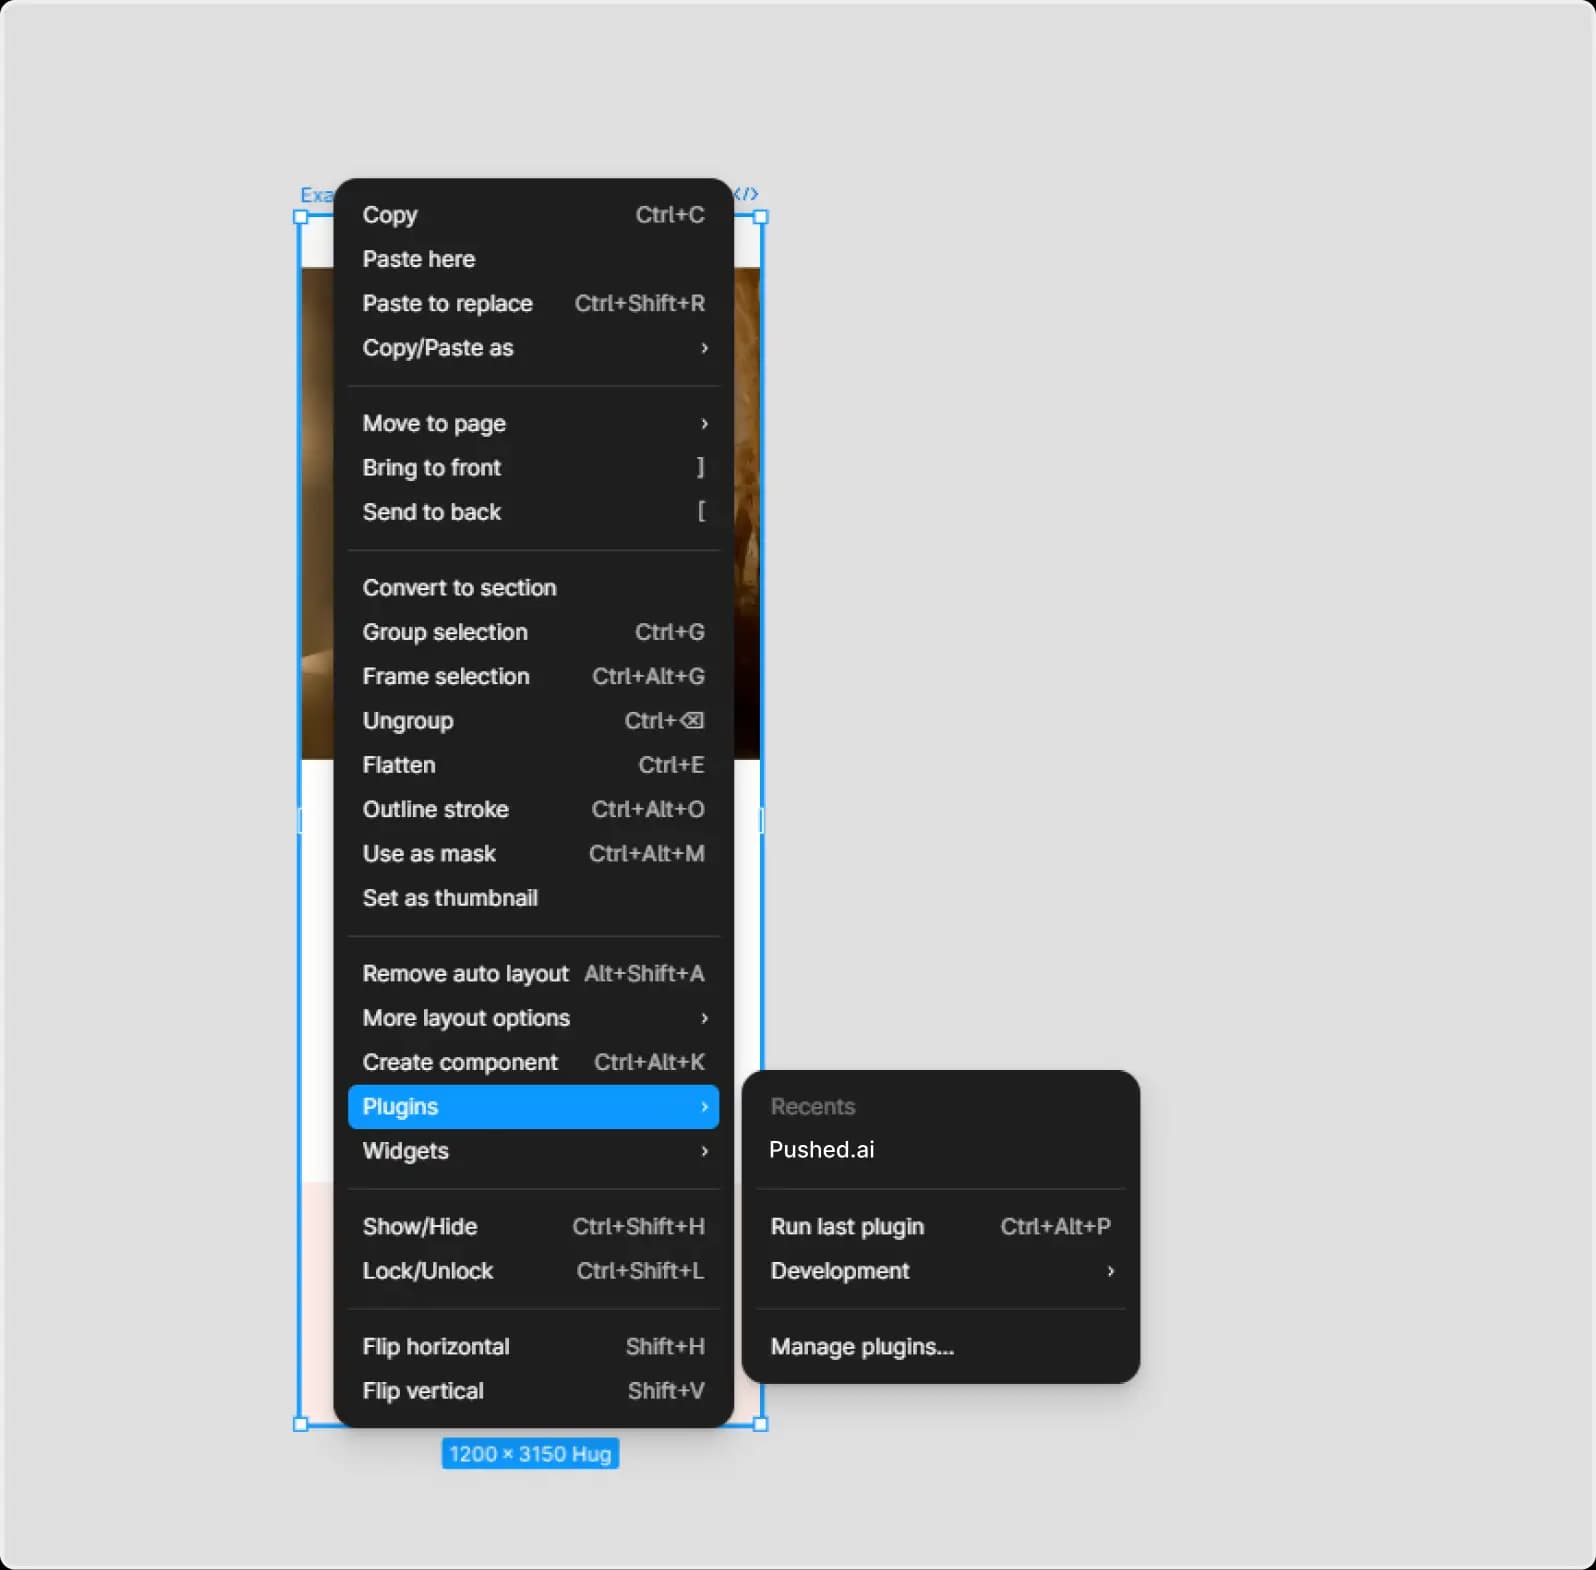
Select your email canvas and launch the Pushed plugin
You should see the Pushed pop up like this — make sure to fill in all the relevant details
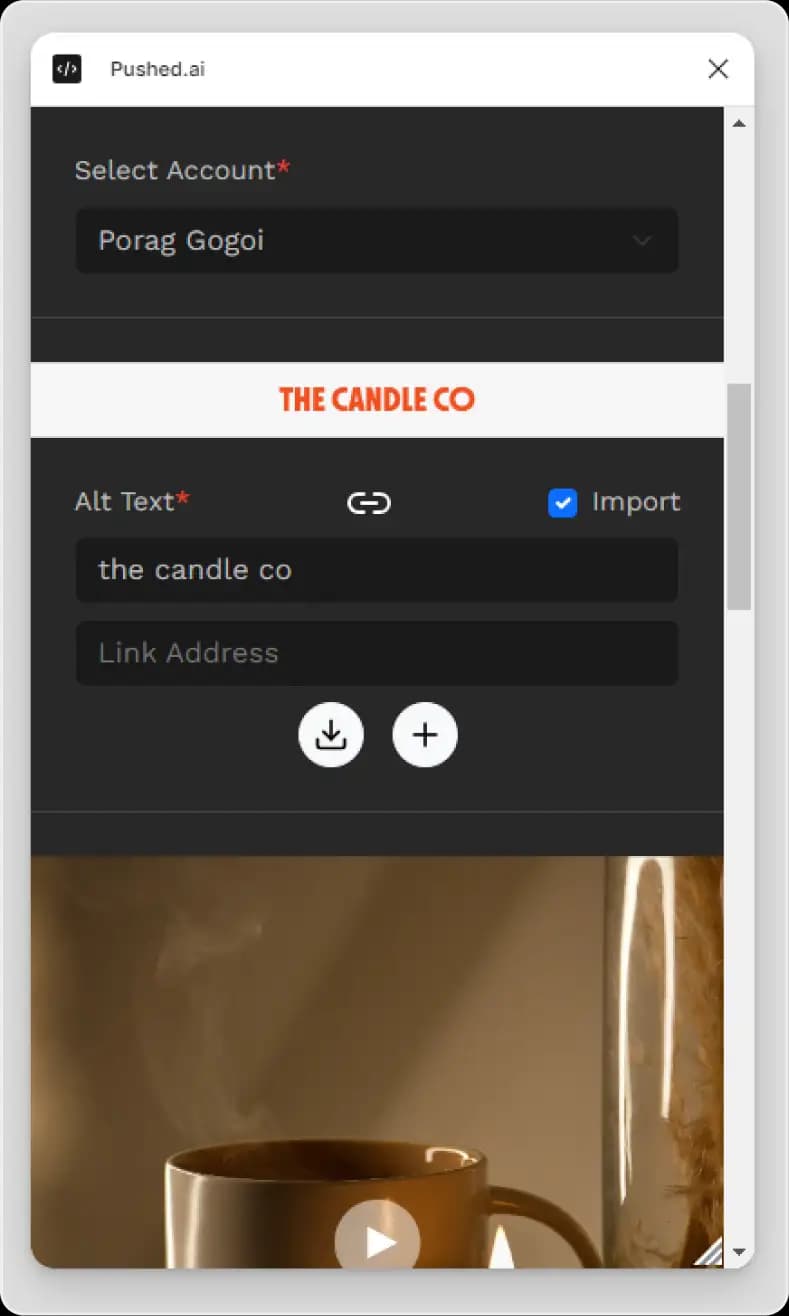
Don't forget to add links, alt text, and adjust plugin settings such as smart send or alt-text conversion. Make sure your Klaviyo API key is added correctly.
Export to Klaviyo
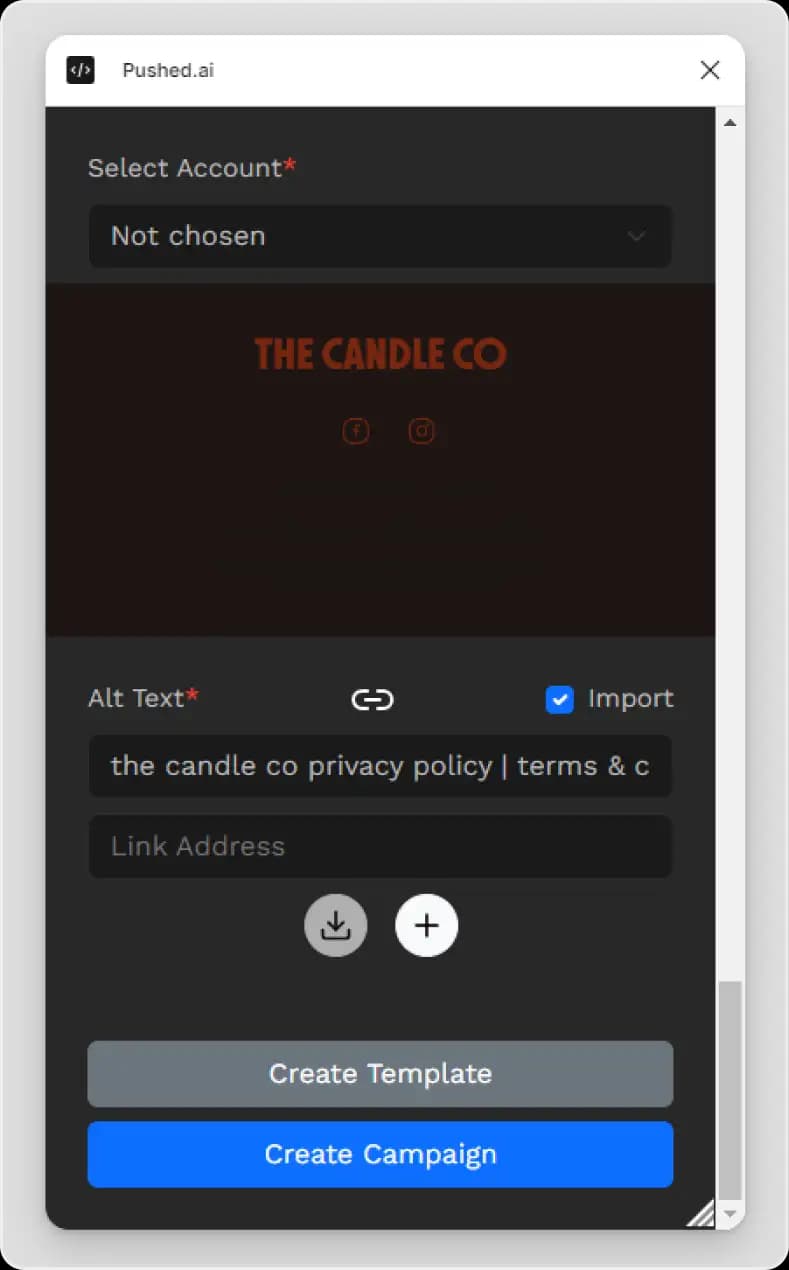
Click Create Template or Create Campaign to send your design slices directly to Klaviyo
Review in Klaviyo
- Check each email slice — once imported, review each slice in Klaviyo for accuracy.
- Make adjustments — modify any content or settings in Klaviyo as needed.
Conclusion
That’s the whole flow.
By following this guide you can effectively use Pushed to create professional, responsive email campaigns. Organizing your design frames in Figma keeps the workflow streamlined and the output high-quality.
For further help, reach out to support@pushed.ai or consult the plugin’s help documentation. Happy designing.
Frequently asked questions
The Pushed plugin lets you design complete emails in Figma and export them directly into Klaviyo as production-ready HTML. It streamlines creating, customizing, and shipping email campaigns so you can focus on creating rather than importing.
- Open Figma and go to the Plugins section under the Community tab.
- Search for “pushed.ai” and click Install, or download here.
- Access it anytime from the Plugins menu in Figma.
- Use the Frame tool (F) in Figma to create sections like Header, Body, and Footer.
- Name each frame clearly (e.g. “Header,” “Main Image,” “CTA Section,” “Footer”).
- Frames must touch with no gaps between them, and each frame must have a background color set.
- Open the plugin in Figma.
- Go to the Account Settings tab.
- Enter your Account Name and click Add Account.
- Go through the authorization flow with Klaviyo.
- Make sure all frames are organized properly using frames and child frames.
- For best results, keep your images under 1 MB.
- Ensure the design stays within 1200px width for best results.
- Preview the export in Klaviyo to identify alignment or rendering issues.
Yes — you can add custom alt text and configure URLs for each frame in the plugin editor before exporting. This ensures accessibility and proper linking in Klaviyo.
We currently integrate only with Klaviyo. Other ESPs (like Yotpo) are on our roadmap.
Yes — pre-built templates are available for download on our Playground Examples page.
- Check that all frames use consistent padding, margins, and alignment in Figma.
- Use auto-layout to maintain structure across sections.
- Verify in Klaviyo’s email preview that no elements are out of place.
- Yes — the plugin supports designing templates for flows such as abandoned cart, post-purchase, and welcome series. Once exported, you can wire them up in Klaviyo’s Flow Builder and link them to the right triggers.
- Instead of exporting as a campaign, export as a template and access the email in your template section of Klaviyo.
The unsubscribe link is managed by Klaviyo to keep you compliant with email regulations. Future updates may add additional formatting options.
Not yet — dynamic events and links aren’t supported today. Future updates may add this.
Yes. Design universal blocks (headers, footers, product grids) in Figma and save them as reusable components. They’ll export as part of your email template for consistent branding across campaigns.
- Update the frames in Figma and re-export the email. The updated template will overwrite the existing one in Klaviyo, so your changes show up without starting from scratch.
- You can reference past campaigns in Settings → Campaigns.
Still stuck? Send us a note or email support@pushed.ai.
Try Pushed today.
No download no install no waiting.
Start creating instantly.